CSS layout bootcamp
I attended a bootcamp for CSS layouts. The goal was for us to understand better how to work with position, grid and flex, variables in CSS and more. My skills were not bad before the lesson, but they definitely got better after it. I Learned a lot of useful things that I would of used a long time ago if I knew them. First I have tried not to use position absolute before since I didn’t really know how it worked, but now I have a better understanding of it and have already used it in my portfolio. Another example is with fronts. I have used google fonts plenty of times but didn’t know how it works neither that I can import fonts on my own without using it. This bootcamp was really useful for me And I would definitely use the knowledge I have gained in my future projects.
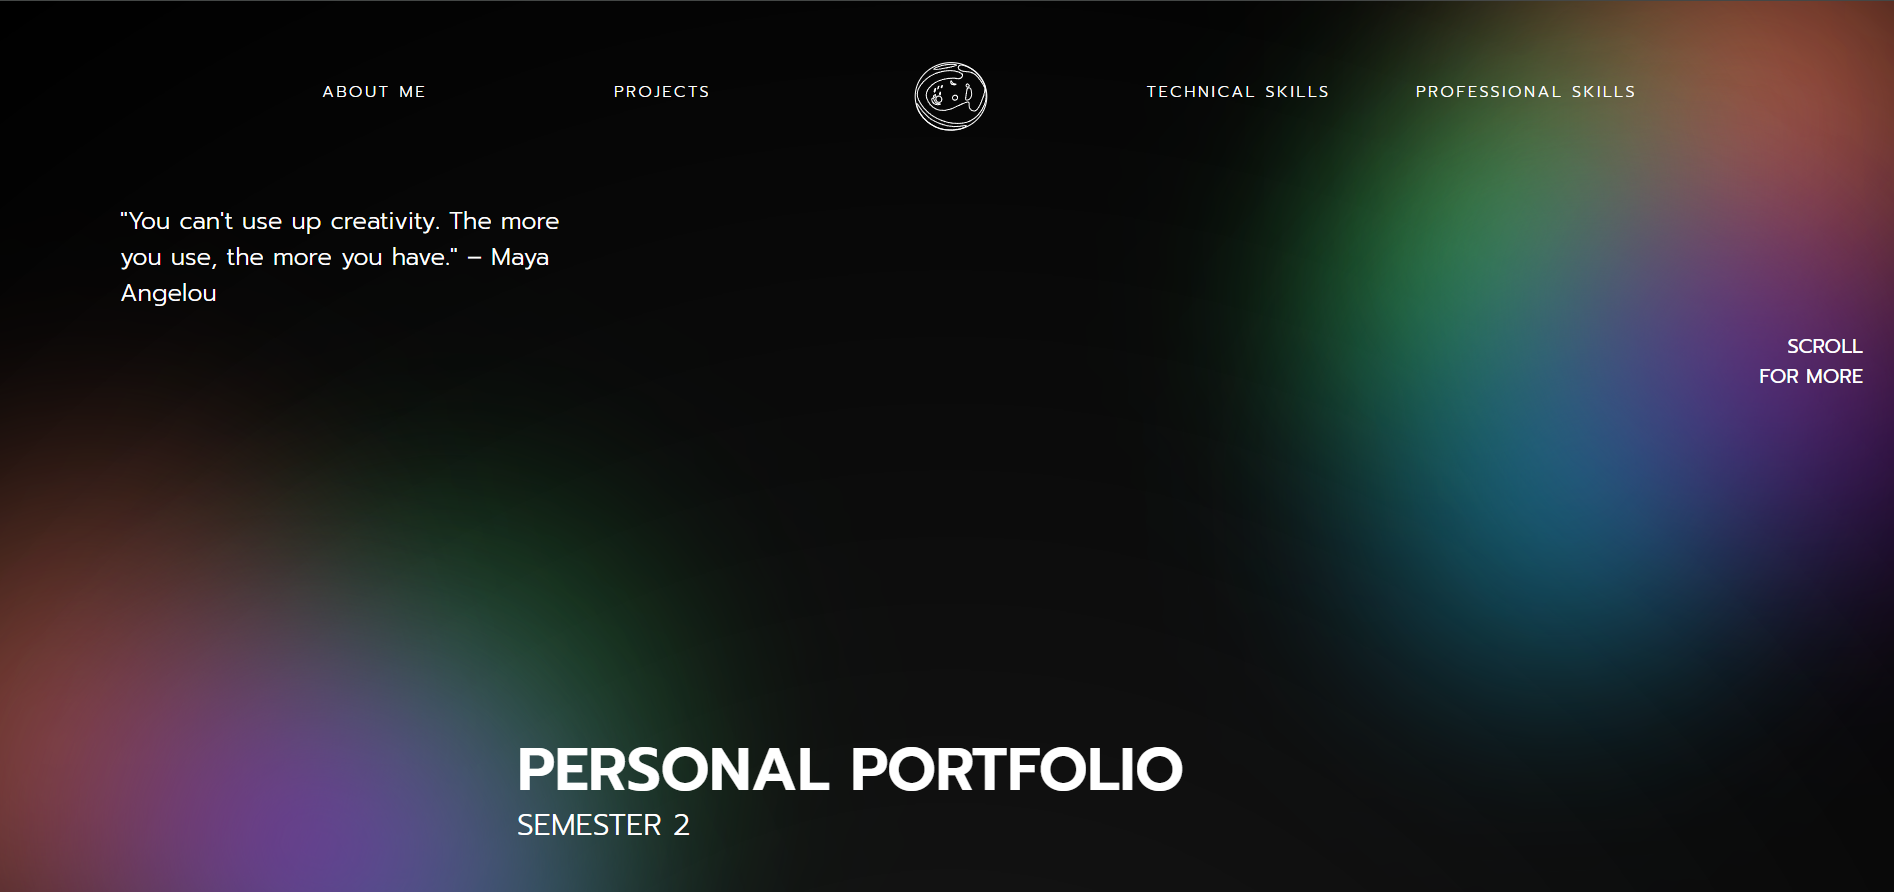
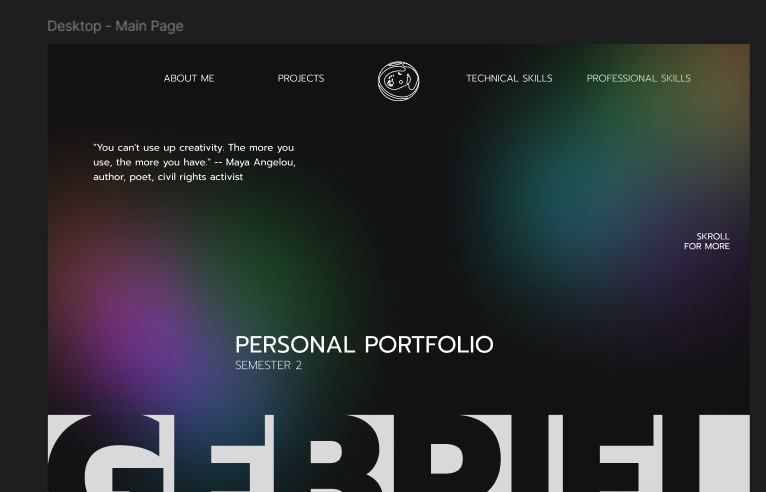
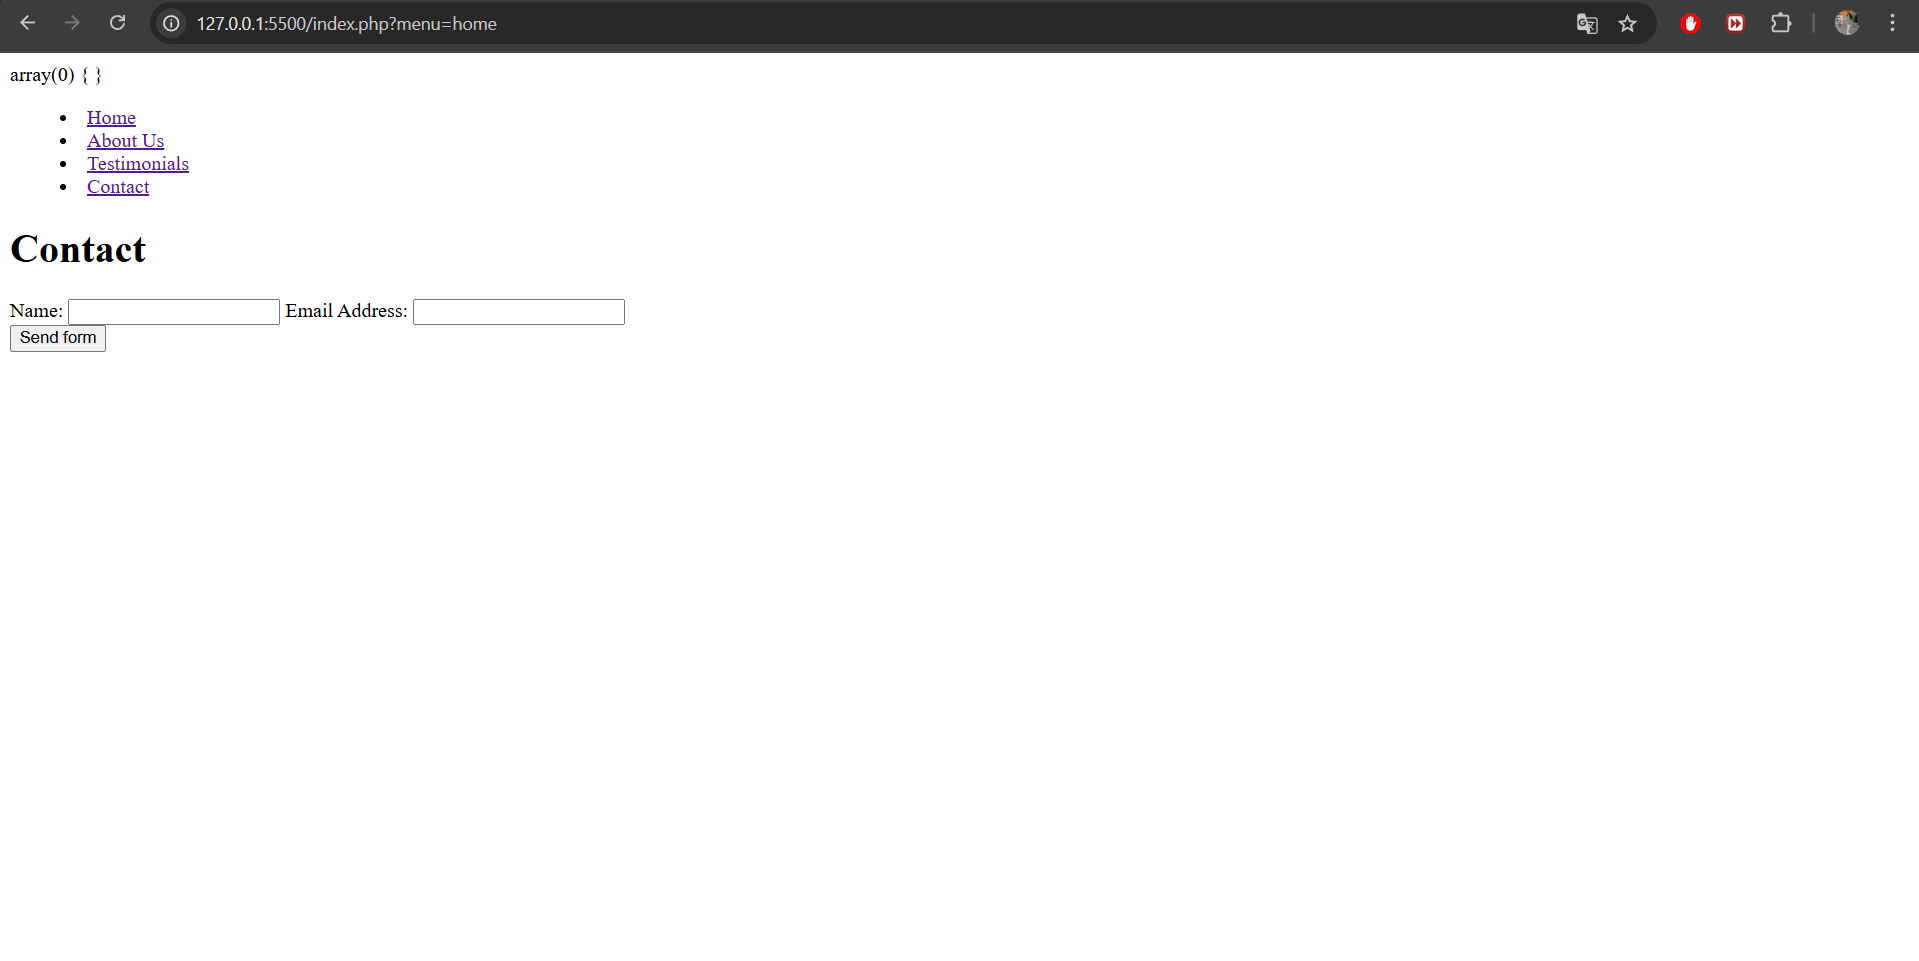
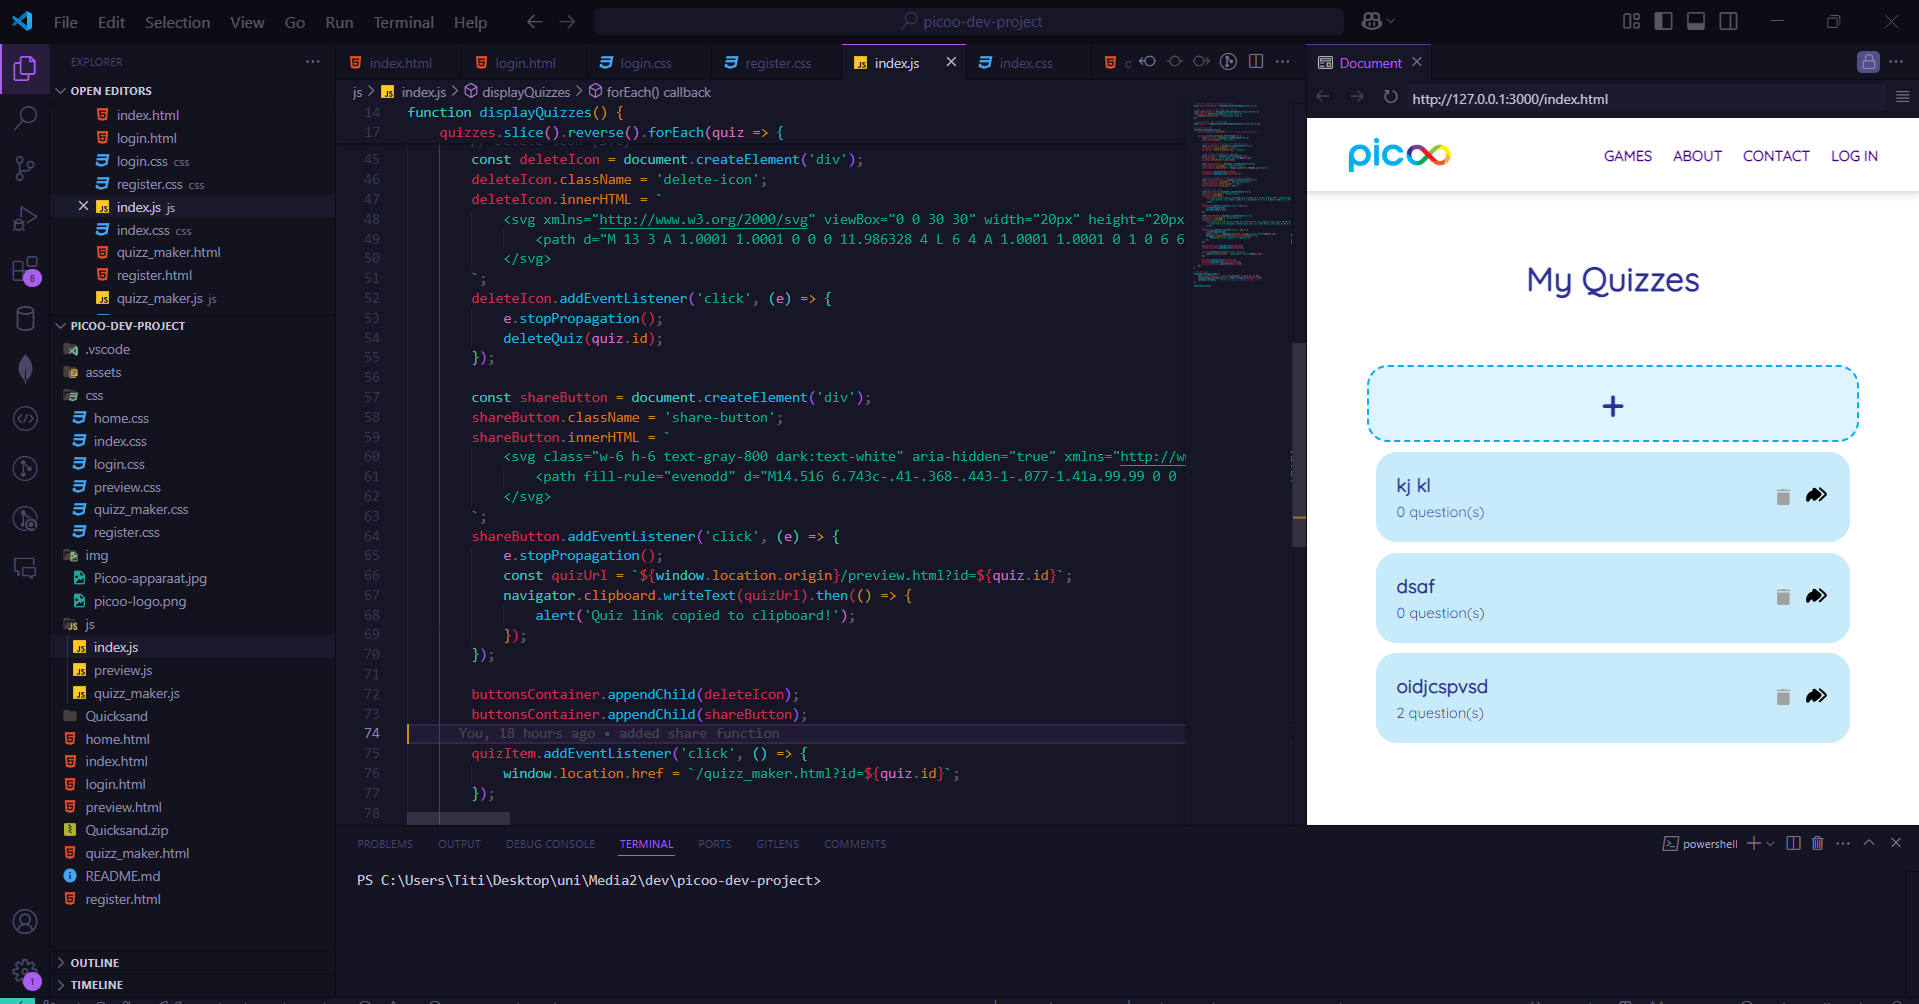
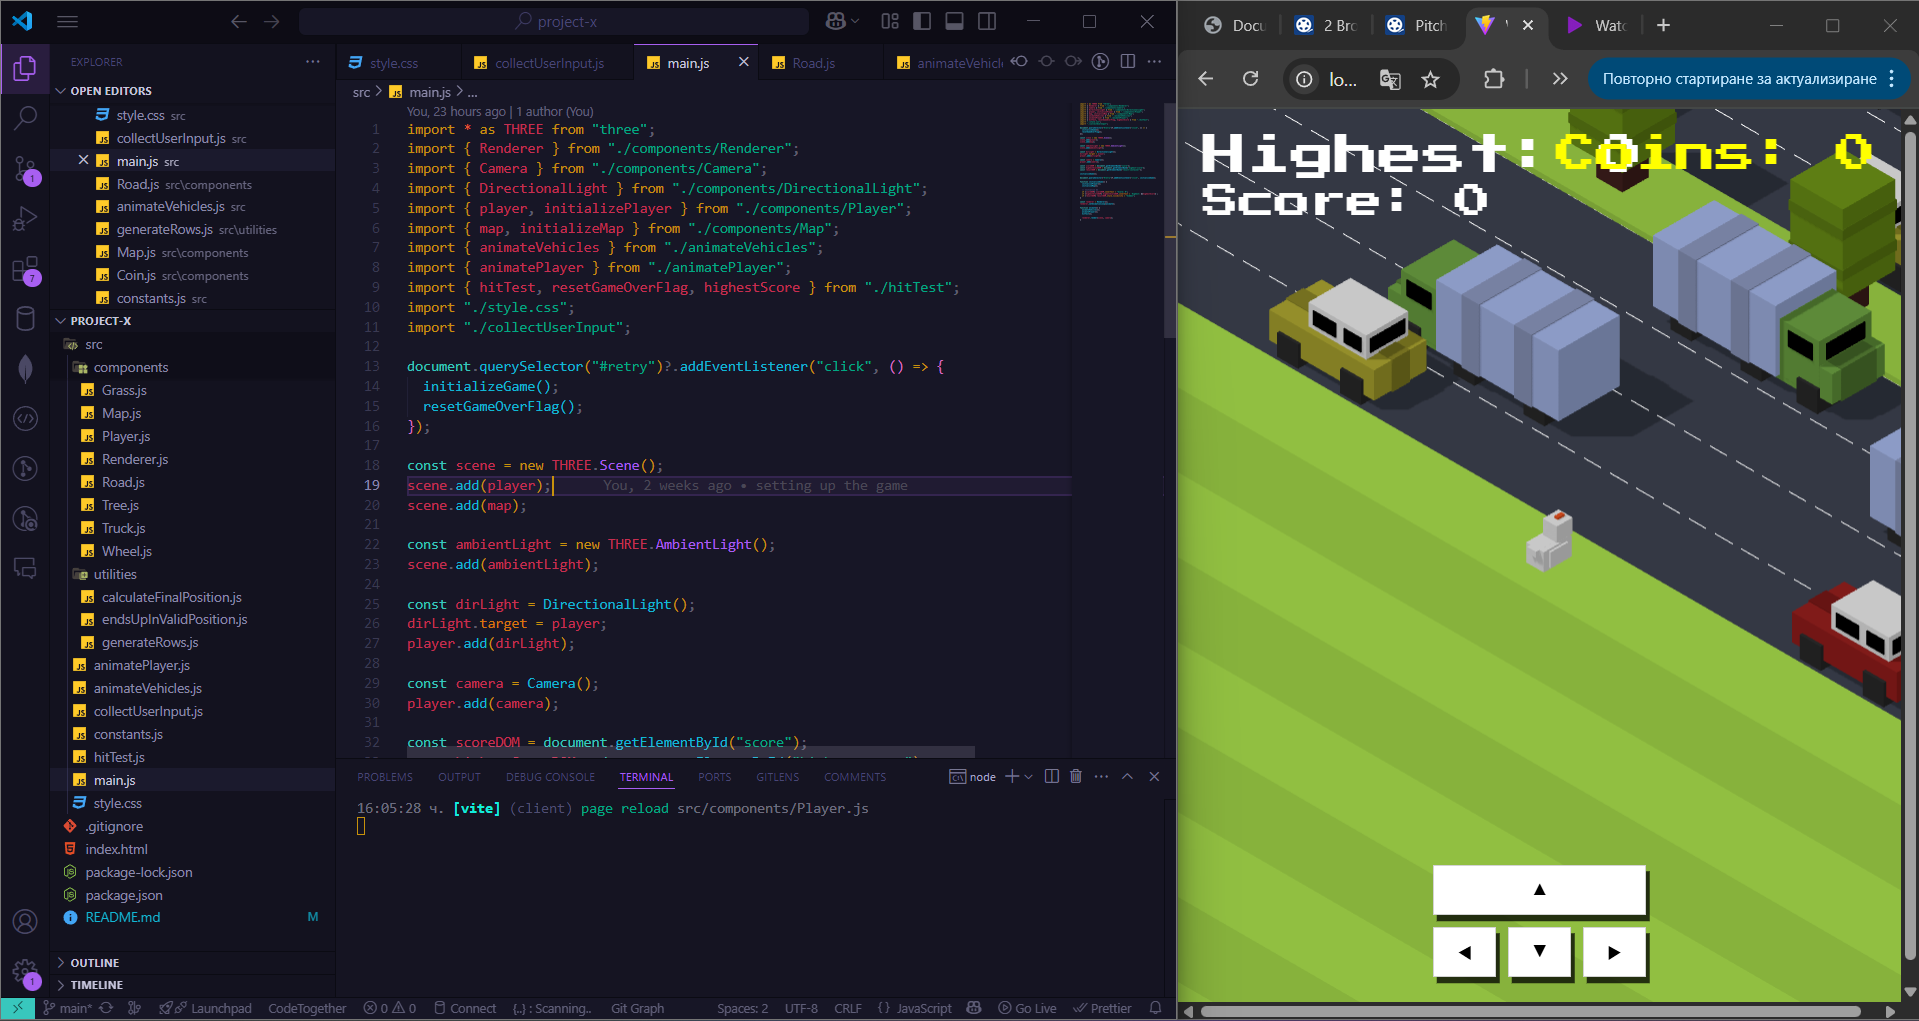
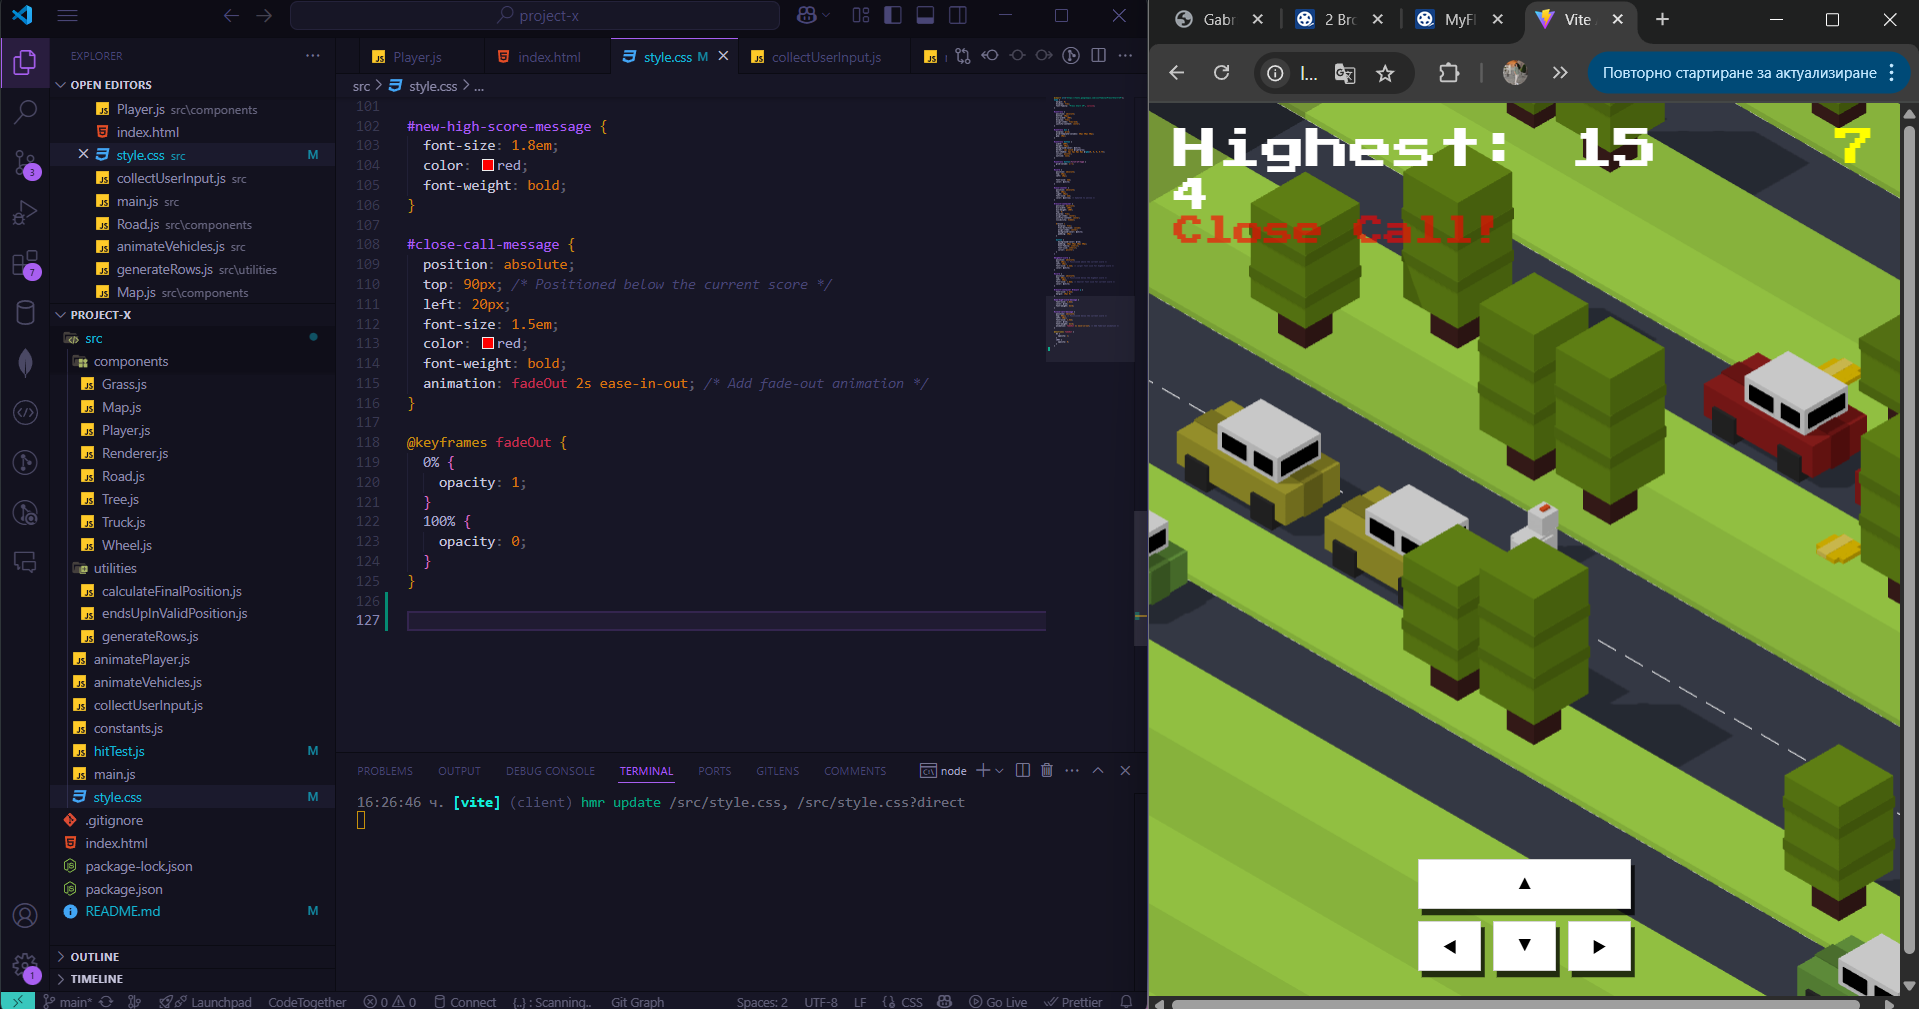
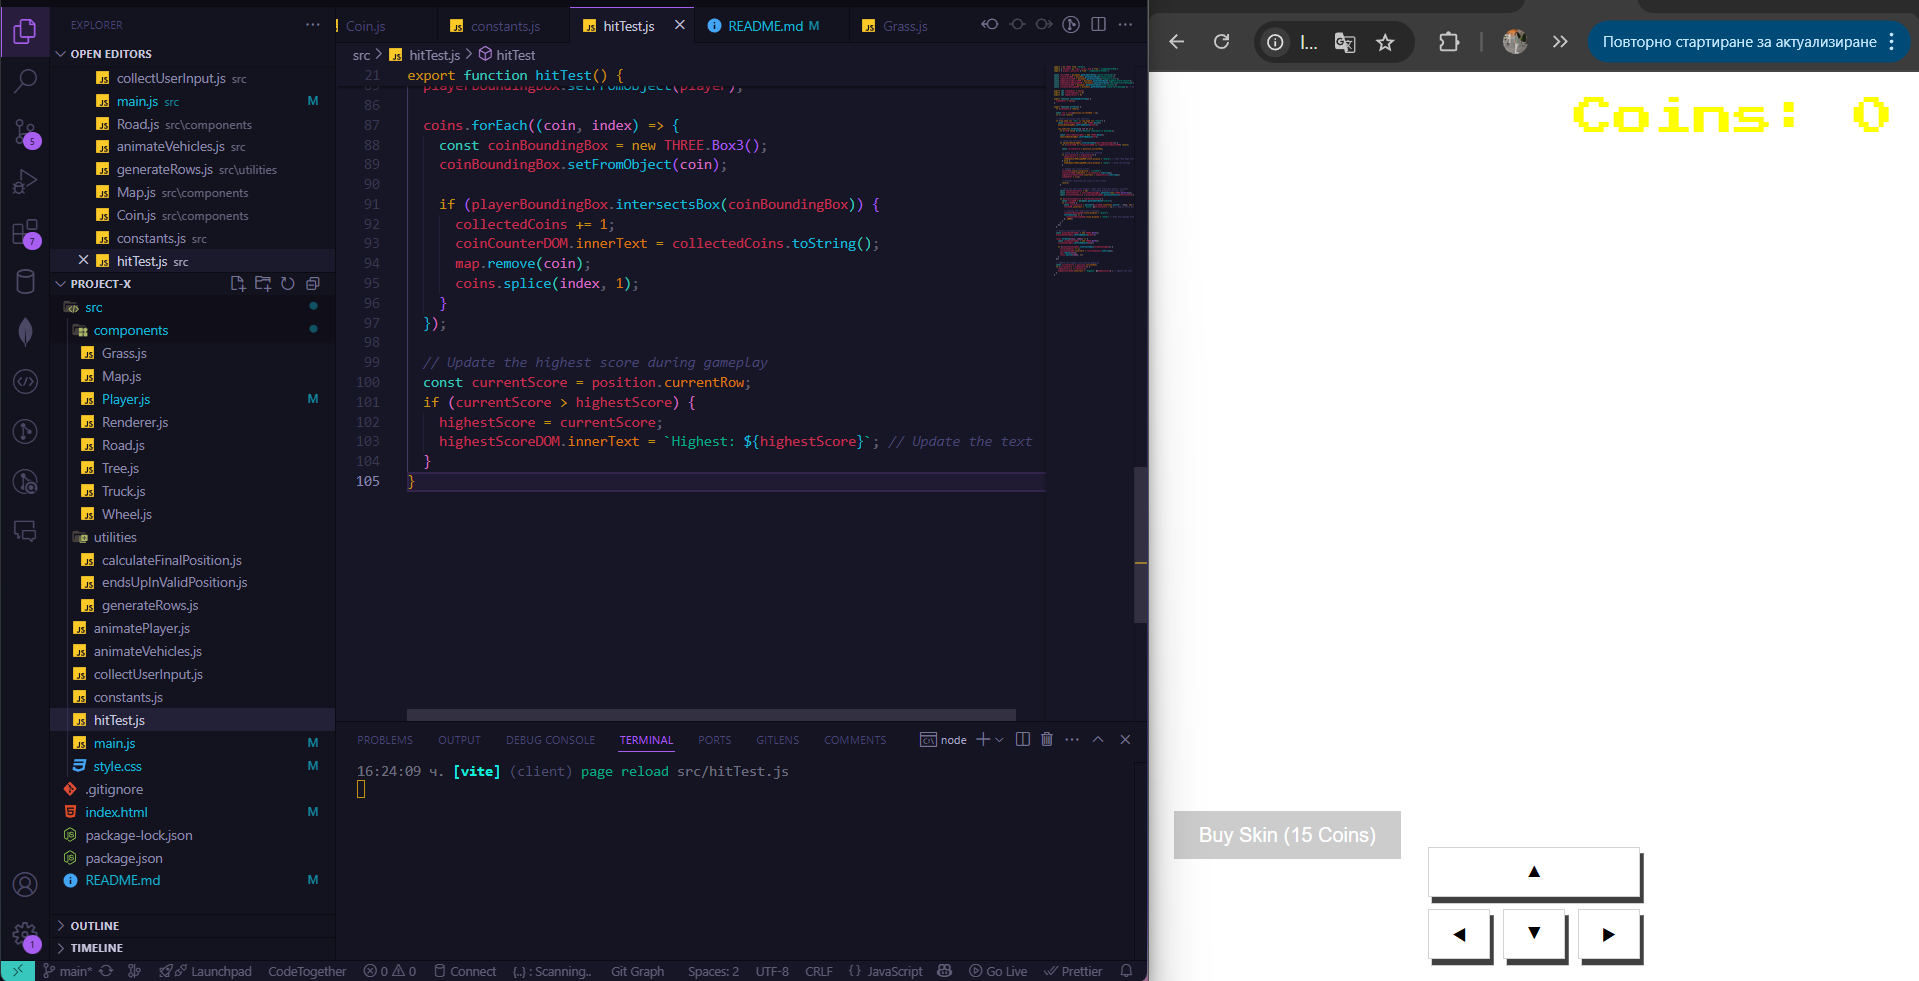
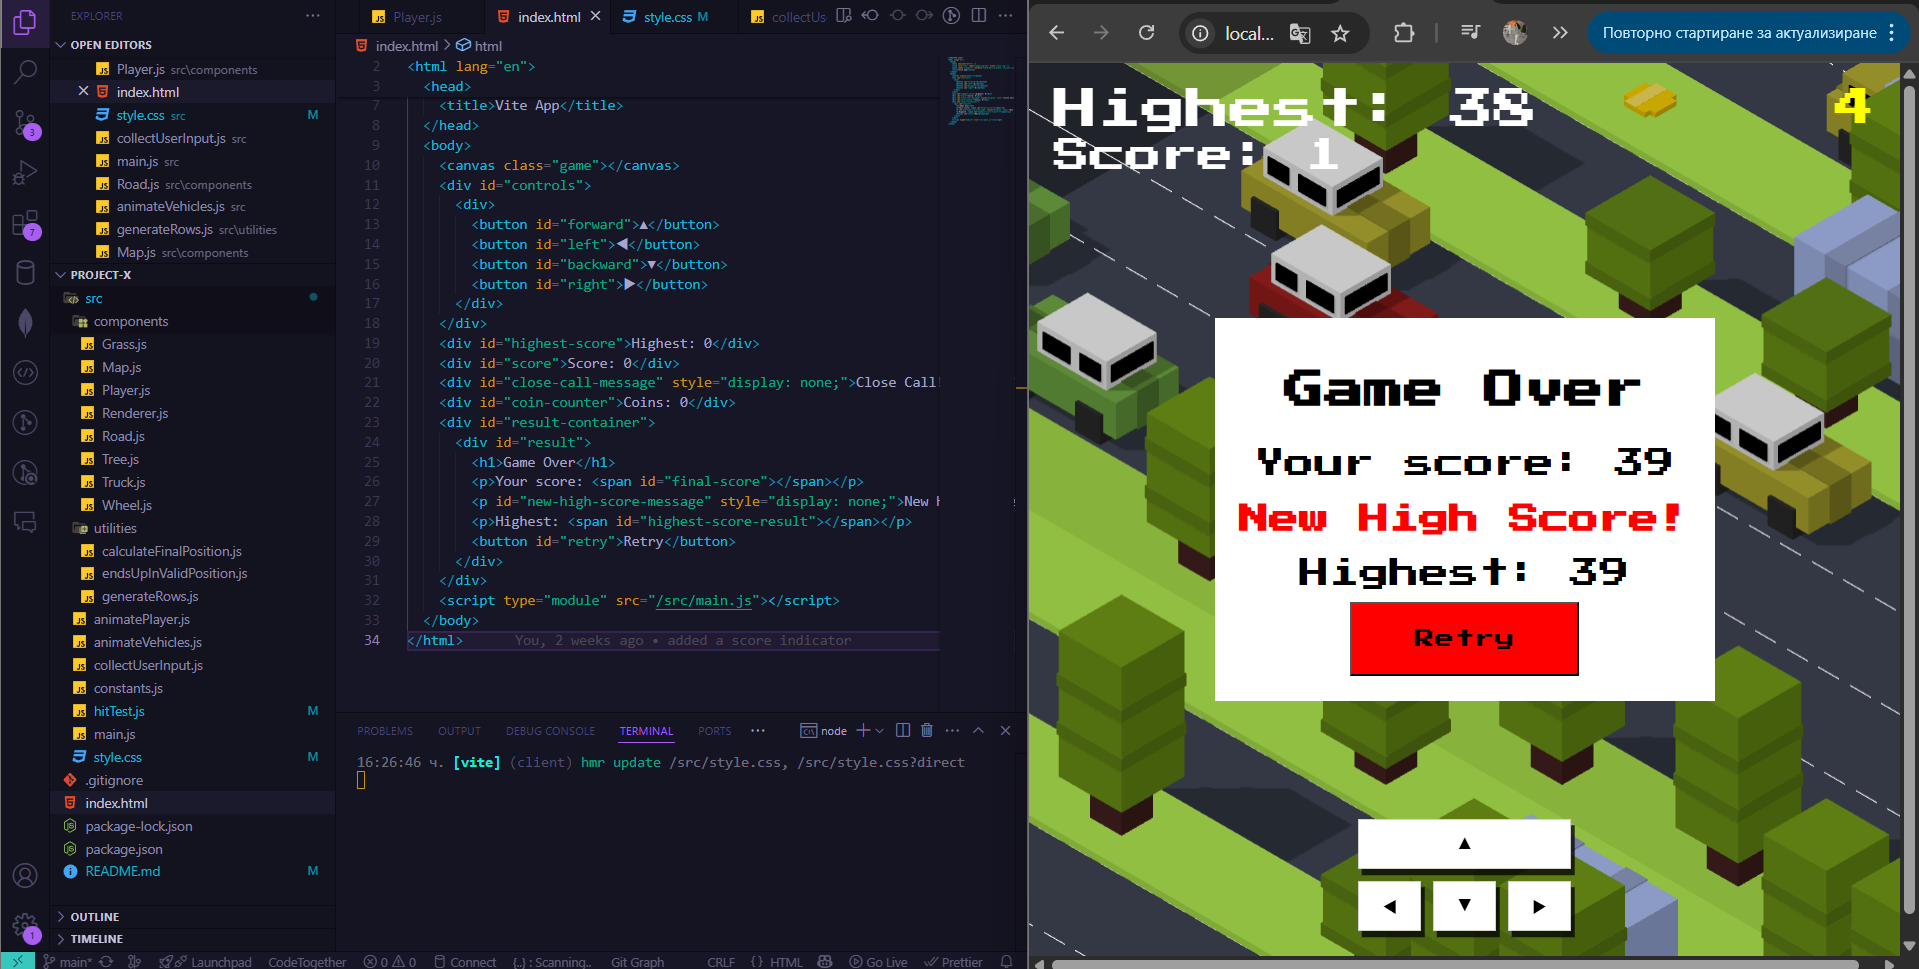
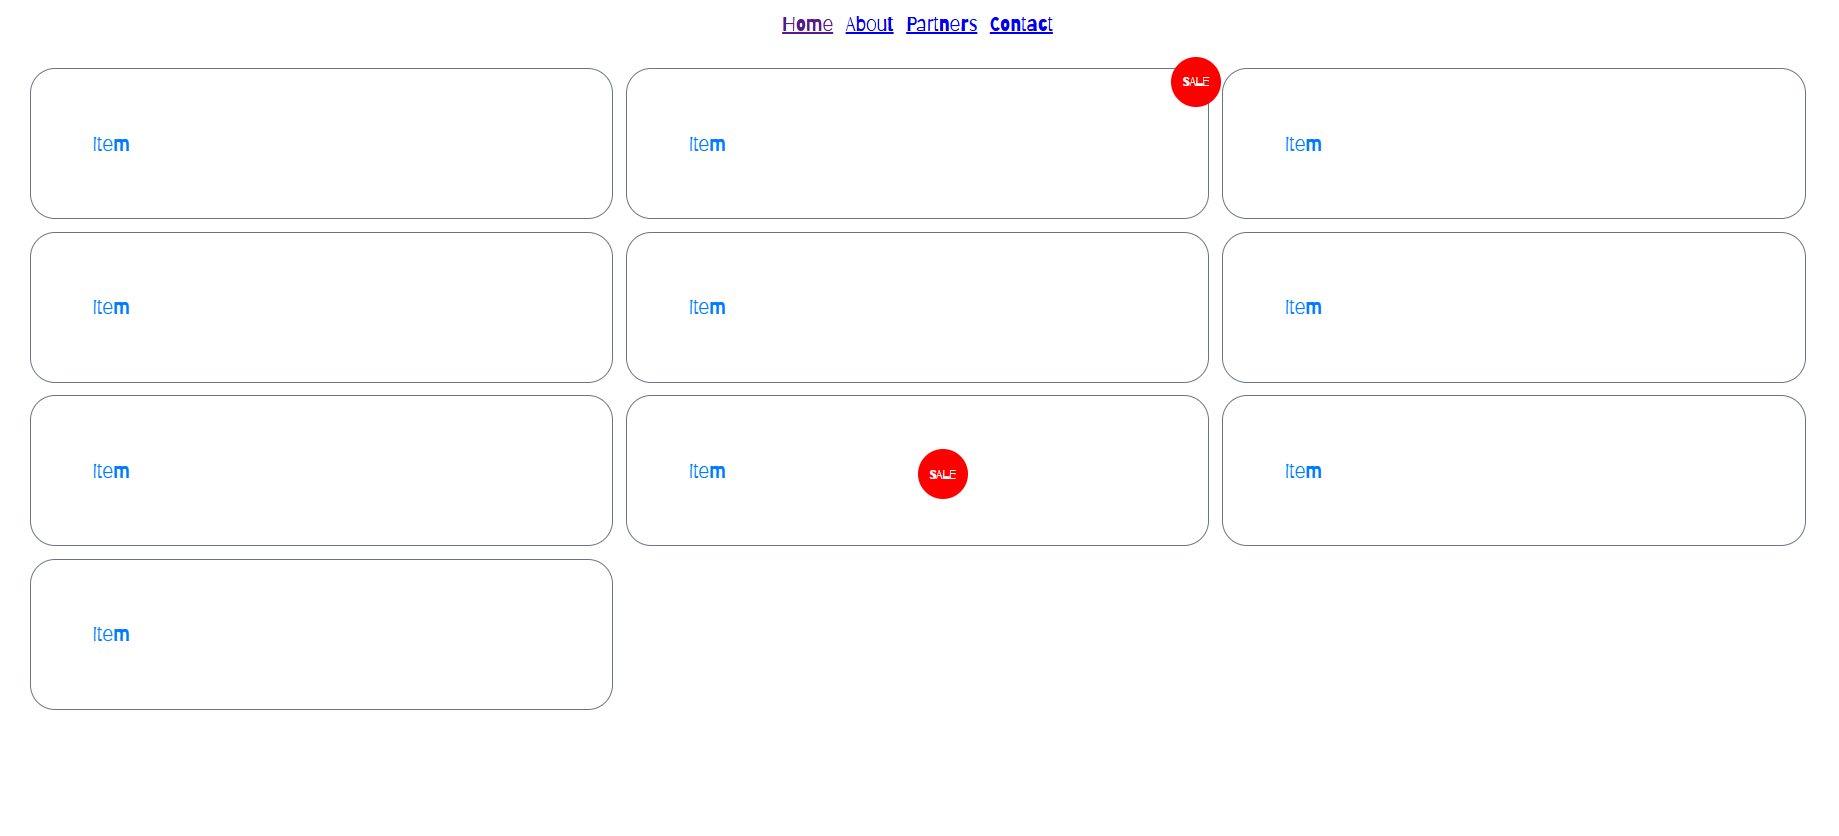
Finished product here